Big Walk Walkthrough: First Steps & Early Game
Last verified: August 5, 2026 · We're walking every trail and updating this page daily as the community verifies each area.
Big Walk doesn't use quest markers, arrows or checklists — so a walkthrough looks different here than in most games. Instead of "go here, do that", the game hands you a beautiful island and trusts you and your friends to make your own path. This walkthrough documents the path we've verified so far, in the order most groups actually take it.
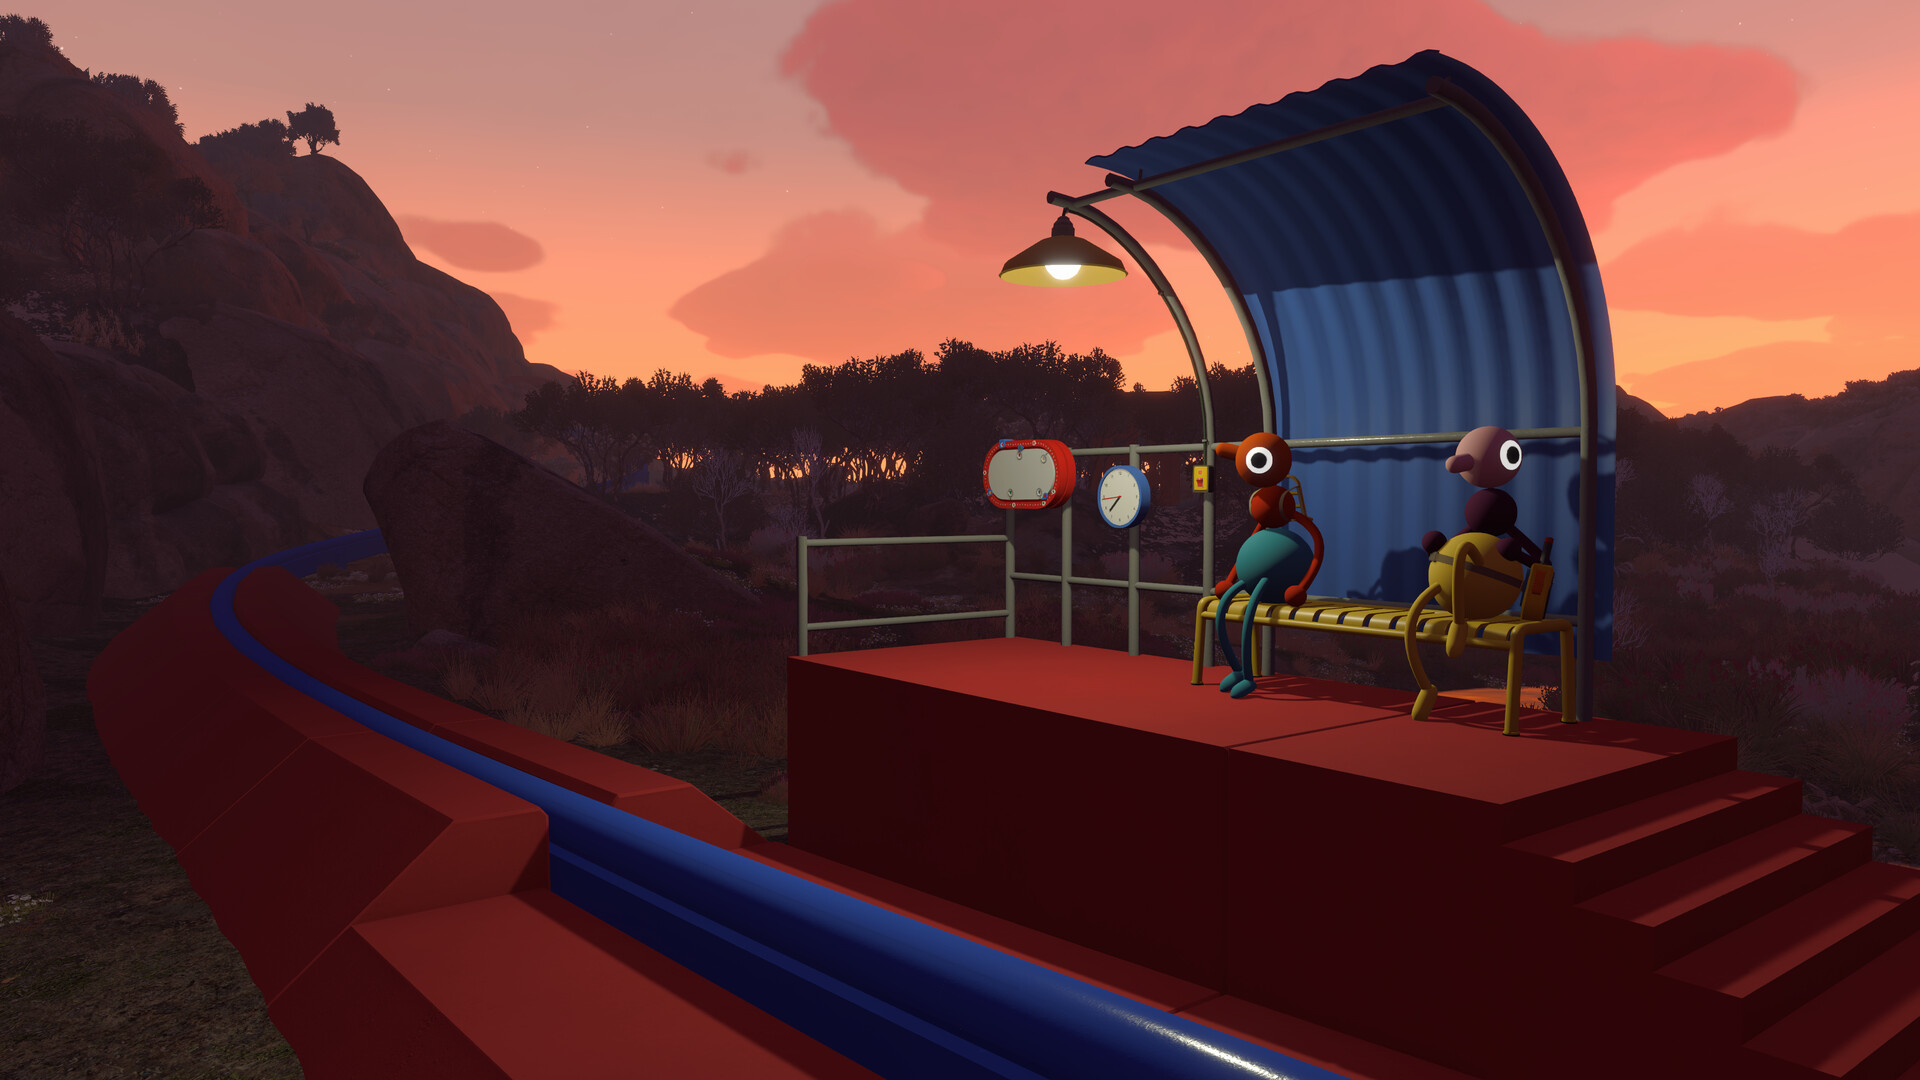
Every walk begins in the same little hall.
How Progress Works — Big Walk Walkthrough Mechanics
Before the first step, it helps to understand the shape of the game. Big Walk is a hand-crafted adventure with a beginning, middle and end. The host's save file tracks everything, so progress carries across sessions — you and your friends can chip away at the island night after night.
- The host is the keeper of the world. They start the session, hold the save, and when they stop playing, everyone disconnects. The host also picks the world version: 2-player, 3-player or 4+ player. Some puzzles change to fit that choice.
- Keys open the way. Progression runs on keys — not inventory keys in the usual sense, but physical objects you find, cut and carry between machines. The early game is a chain of "find the thing, bring it to the thing, unlock the next place".
- Zones unlock in sequence. Each major area of the island is gated. In the first session you'll unlock the beach, the tower and the train; the "final key" of the opening stretch opens the next zone and a shortcut back.
- You're never told what to do. There are no prompts. Landmarks, telescopes and the map room exist so you can point and say "let's go there".
Walkthrough Step 1: The Tutorial Hall
Every Big Walk session starts in a small indoor hall. A doorway leads outside, but before you rush out, the game quietly teaches you everything your body can do — and it's a surprising amount.
- Movement: walk, run, jump and crouch. You can also sit down with your legs crossed, which becomes a surprisingly important social tool.
- Carrying: pick up objects, throw them, and — crucially — pick up other players. One player can carry another, and two can even lift someone together.
- Stacking: crouch and let a friend climb onto your shoulders. Stack two players to reach a high button; the noclip crew famously escaped the tutorial auditorium this way.
- Goofing off: you can dropkick, steal your friend's ball, and sit on top of things. The tutorial is basically a playground — and it's fine to treat it like one.
Don't leave the hall until everyone has tried sitting, carrying and stacking. Those three moves are the foundation of half the puzzles in the game. And yes — the game does become nighttime if you dawdle too long in the tutorial. That's fine. The moon is pretty.
Step 2: The Lost & Found Hub
When you first step outside, you're in the tutorial grounds. Past the auditorium and a few test structures sits the Lost & Found — a small building where dropped objects collect. Here's the useful part: any object you lose, or that despawns when someone disconnects, winds up here. If your group ever loses the one walkie-talkie you needed, check the Lost & Found first.
Your save always starts in this area, so it doubles as your home base for the opening stretch. It's also where the first of the island's collectibles tend to hide — keep an eye out for the glowing orbs tucked behind structures.
Step 3: Getting Your Bearings
With the tutorial behind you, the island opens up. The first landmarks most groups discover:
- The beach. A wide stretch of sand and ocean on one side of the tutorial grounds — a natural first destination and a good place to learn how far your voice carries.
- The tower with a telescope. Climbing to a high point and scoping the island is the intended first step for orienting yourself. The telescope also reveals collectible orbs that glow when scanned.
- Radio stations. Scattered across the world, each playing its own song. You can carry the music with you if you're in the mood.
- The map room. A giant map of the island that becomes available after enough puzzles, letting your group plot routes together. It's the destination for the "Big View" achievement.
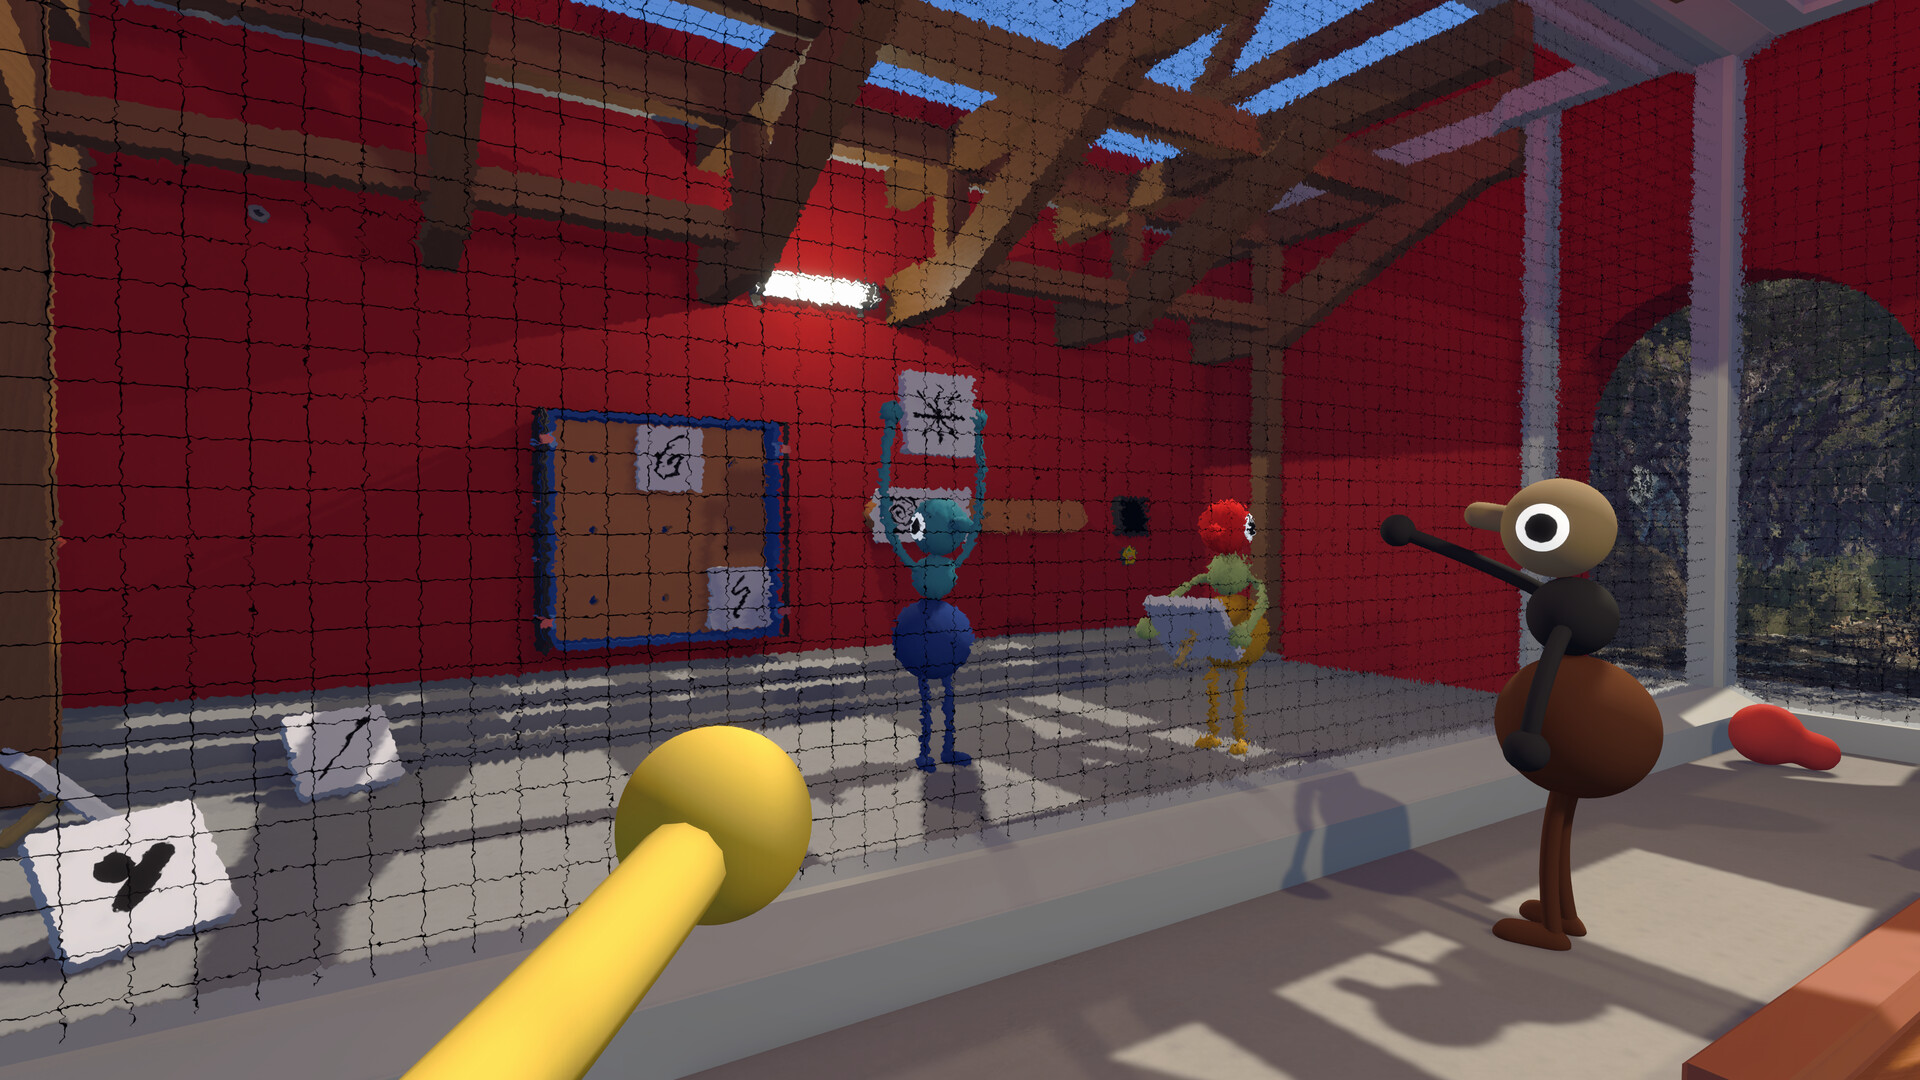
Pick a landmark, point at it, start walking.
Step 4: Your First Tools
Tools in Big Walk are scattered around the world, and most make puzzles easier without being strictly required. In the opening hours you'll come across:
- Backpack + paper map. The backpack gives you limited carry space, and the paper map lives inside it. Reading the map requires a friend to take the backpack off your shoulders — a lovely bit of design that forces cooperation.
- Walkie-talkies. The most important tool in the game. They let two players talk over long distances when proximity chat has dropped. You'll find pairs around the world; splitting a pair between two players is the standard early-game strategy.
- Flashlight. Useful for dark spaces and for signaling at night.
- Binoculars & laser pointer. Both are for spotting and pointing at distant things — the laser pointer is surprisingly powerful for guiding a partner who's out of earshot.
- Flare. A bright signal you can fire to mark your position. Great for reunions when the group scatters.
- Megaphone. Broadcasts your voice further than proximity chat normally allows — handy when someone wandered off before grabbing a walkie-talkie.
There's no magic inventory screen. What you can carry is what your character can physically hold, and carrying too much slows you down. Packing for a hike genuinely takes teamwork — one player hauls the gear while another carries the map.
Step 5: Your First Puzzles
The opening stretch of Big Walk introduces the puzzle vocabulary the whole game builds on. See the puzzle guide for the full breakdown; here's the order most groups meet them:
- The vice machine. A machine with a vice that needs glowing orbs inserted. Find the orbs (the telescope helps), feed the machine, and it squeezes them into a usable object.
- Key cutting. A locksmith-style machine cuts keys one at a time. You carry a blank around the island, visiting machines in the order shown by an arrow on the key — each one stamps a new notch.
- Paired buttons. One player holds a button while a partner passes through a gate. If the holder lets go, the gate closes. Simple, and the game's first real test of trust.
- Symbol locks. A door that prints a pattern of symbols, which another player must reproduce on a panel elsewhere. This is where describing things clearly — "S shape, then three circles stacked" — becomes the actual puzzle.
- The echo game. When players split up across a valley, the world's echo lets you hear distant voices faintly. Figuring out how loud to yell and where to stand becomes a puzzle in itself.
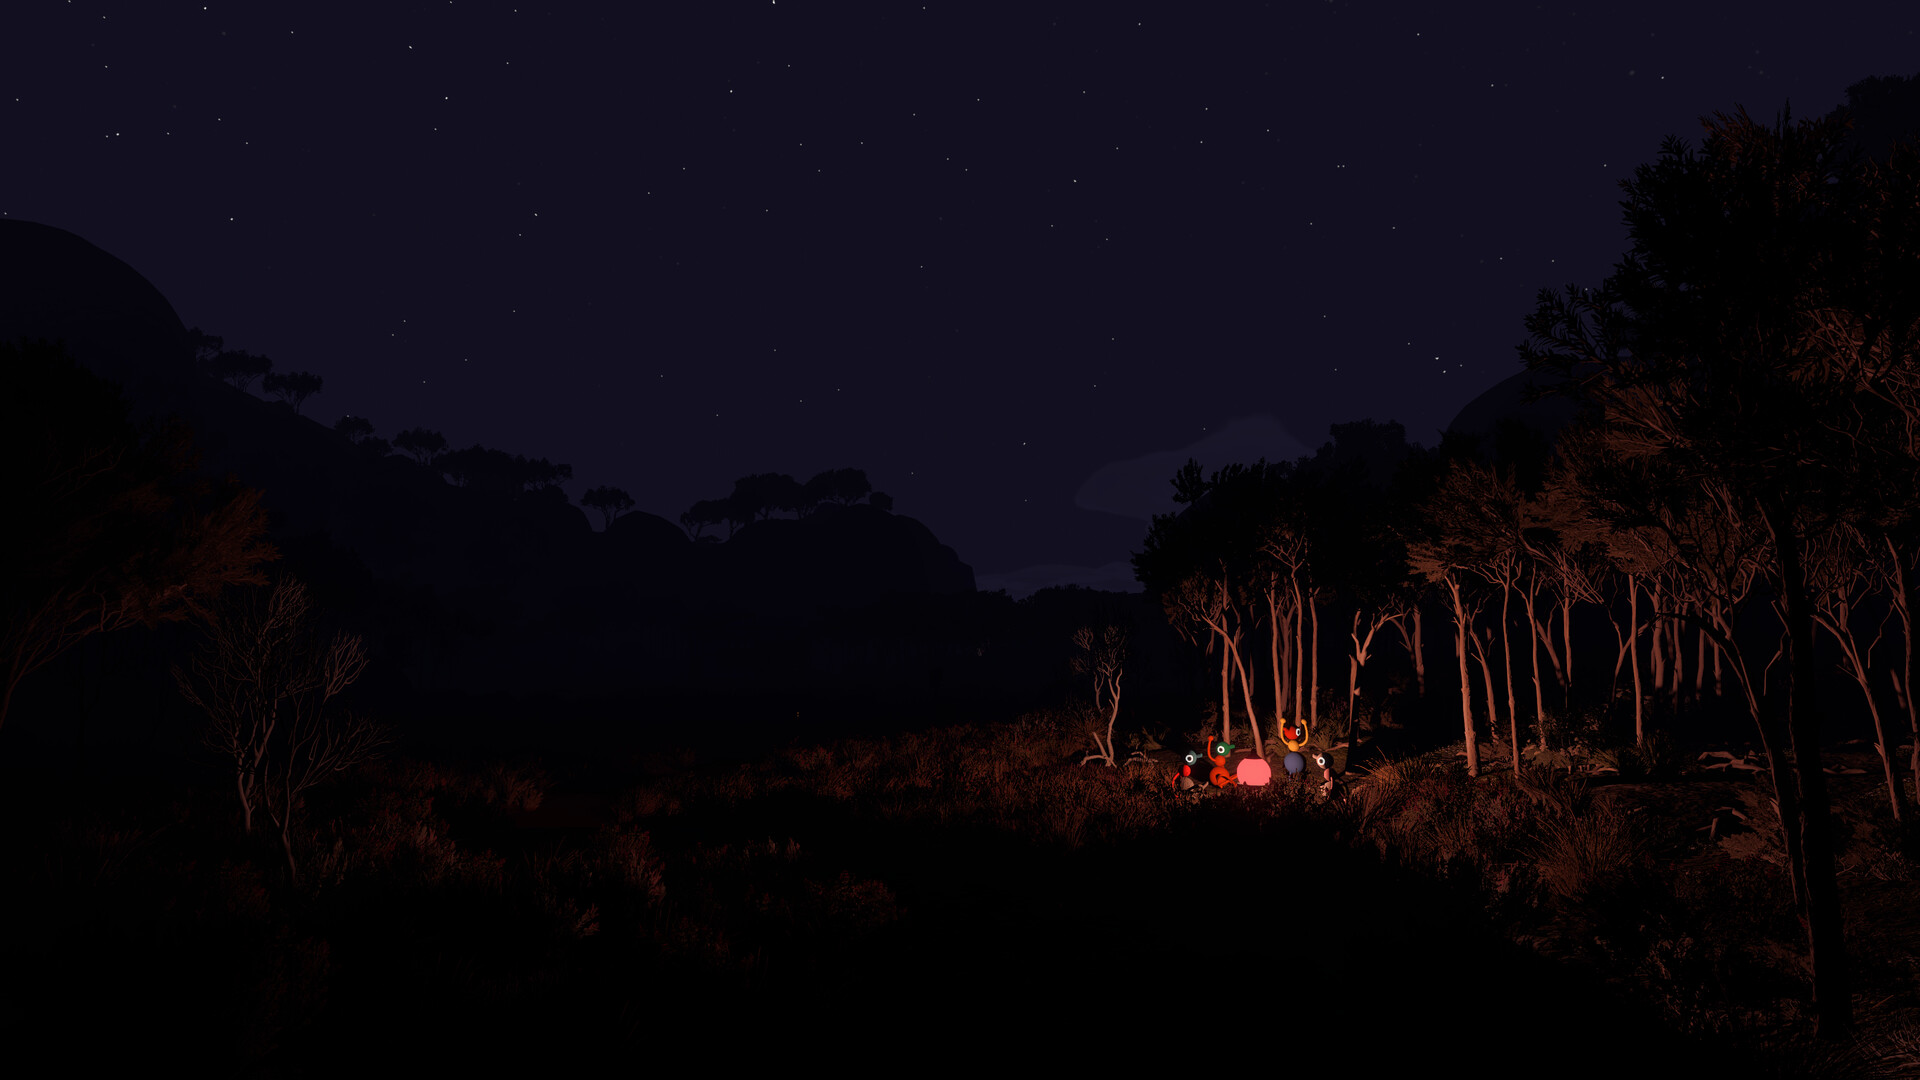
Machines like this one are the island's puzzle stations.
Step 6: Unlocking the Train
After a handful of puzzles, the island's reward loop kicks in. The first big unlock is the train system: a set of tracks running through the opening area with colored trains — red, yellow and green. Riding the train is both a fast-travel shortcut and one of the game's earliest joys. It's also the goal behind the "Big Ride" achievement.
To get the trains moving, your group will need to complete the puzzle chain that powers the station — typically the same key-cutting and orb work from the steps above. Once running, the trains make exploring the far side of the first zone dramatically faster, which matters because the next unlock is far away.
Step 7: Beyond the First Zone
The opening stretch ends with the final key. Placing it opens the next zone and, per players who've reached it, a shortcut back to the starting area. Beyond the first zone the island grows considerably stranger — the walkthrough so far has confirmed a giant wall with something beyond it ("Big Wall" — go beyond the wall), a large tunnel, and the highest point on the island. We're documenting those areas now and will expand this page as we verify them.
Big Walk launched on August 4, 2026. This walkthrough covers the opening hours — the tutorial, the first zone, the train and the approach to the next area — all verified against official sources and early gameplay. The deeper zones are being mapped daily, so check back or email us if something's missing.
Key Decision Points
Big Walk's real "choices" aren't dialogue options — they're the constant micro-decisions of expedition logistics. Here are the ones that matter in the opening hours:
- Split up or stay together? Some puzzles demand side-by-side coordination; others demand one player trekking across the island alone. The question is always: can the lone walker stay in contact? If they can't, send a walkie-talkie pair or pick a meet-up point.
- Use the tool or solve without it? Walkie-talkies make the echo puzzles trivial, but the game is designed so tools are rarely required. Solving without the tool is often slower and much funnier. Both are valid.
- Who carries what? Inventory is physical and limited. Assign a map carrier, a tool carrier and a collectible carrier before setting out, or you'll spend the hike swapping backpacks.
- Where's the meet-up point? Before any long split, agree on a landmark — "the beach at sunrise" is the classic. The world is big and your voice is not.
Related Guides
Play Big Walk
Big Walk is out now on Steam, Mac App Store, PlayStation 5 and Switch 2. Grab your friends and start walking.